now that the summer
is beginning its wind down
— the days being cooler
— the nights dipping into the 60s
and i can’t decide if the
AC should be kept on or turned off,
we’re finally getting our groove on
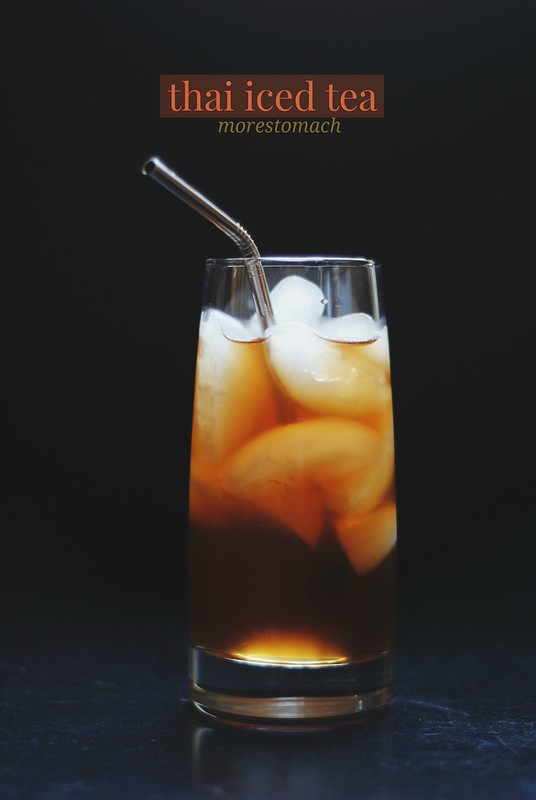
with smoothies
and we’re gonna shut the shop down
in a few short weeks
because i don’t want to start
the day freezing my ass off.
figures, right?
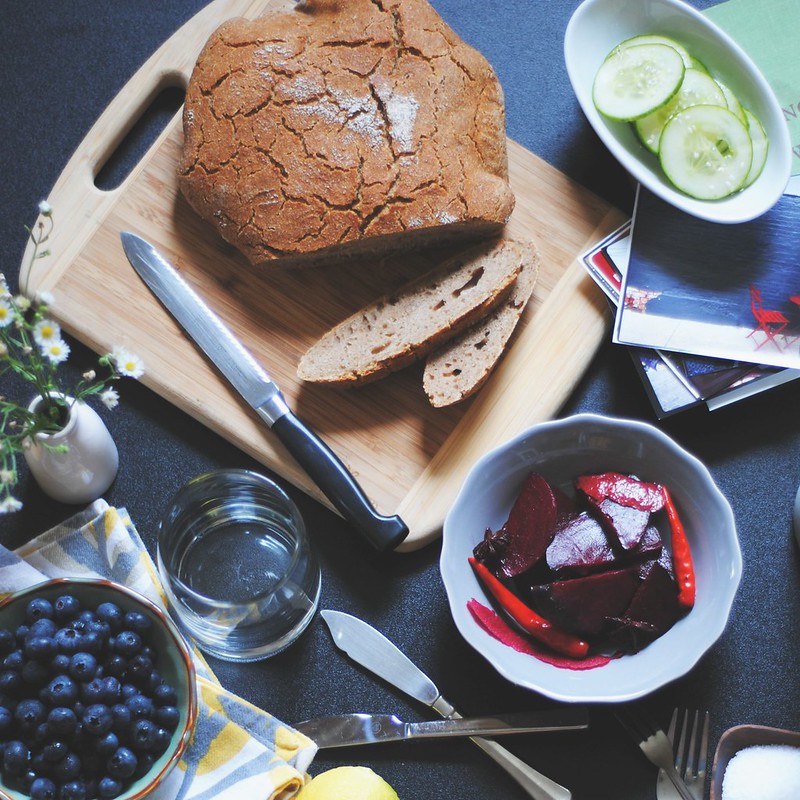
it’s a lush time
of ripe peaches
precious leftover blueberries
i’m already lamenting about autumn
and we still have a good 2 months till then!
i’ll shut up now.
last week we picked up running again.
my goals remain the same:
– run safely, no injuries for this girl.
– finish. it may not be pretty but get it done.
after our first run
dw introduced me to a new juice/vegan/hippy/smoothie joint
it is now my new jam
and this smoothie was inspired by them.
(i will admit
that i’m pretty sure i’m negating my run
by consuming their smoothies
but i don’t care.)
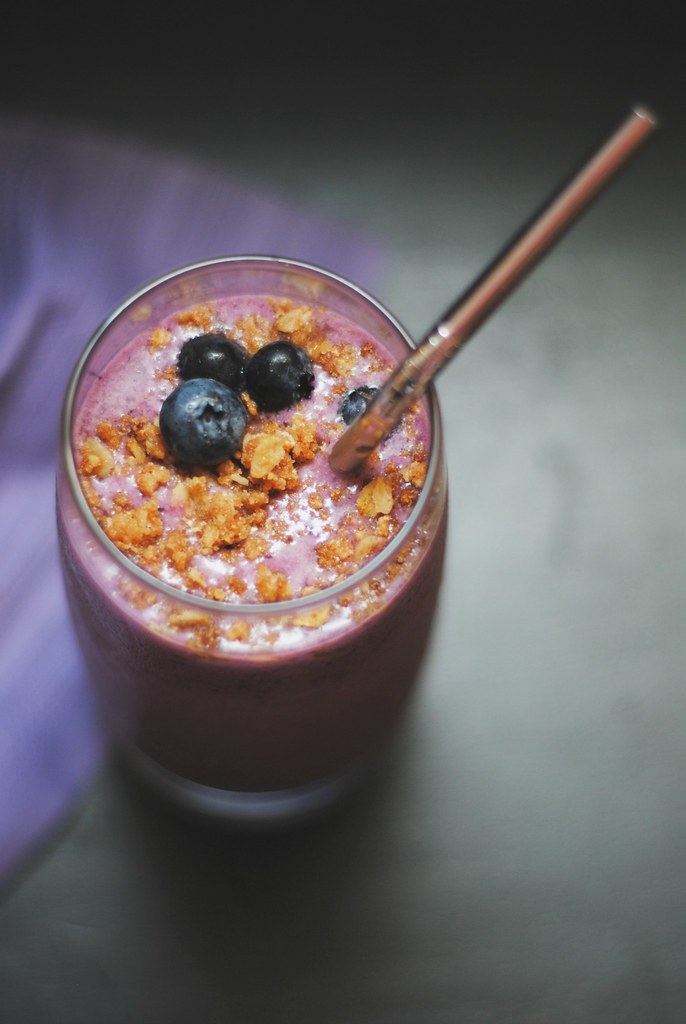
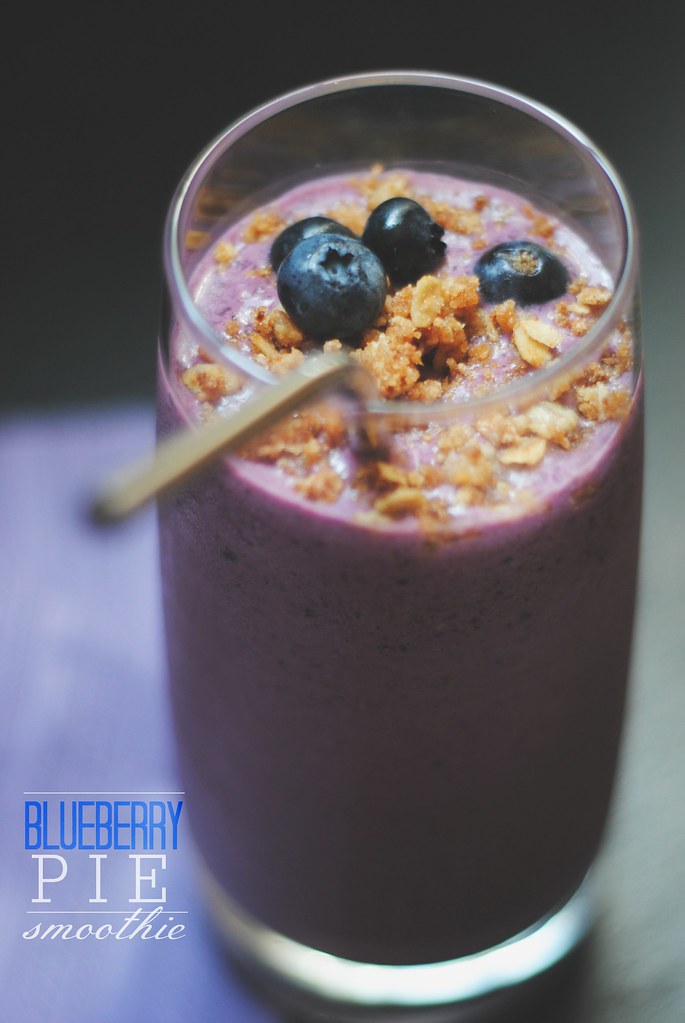
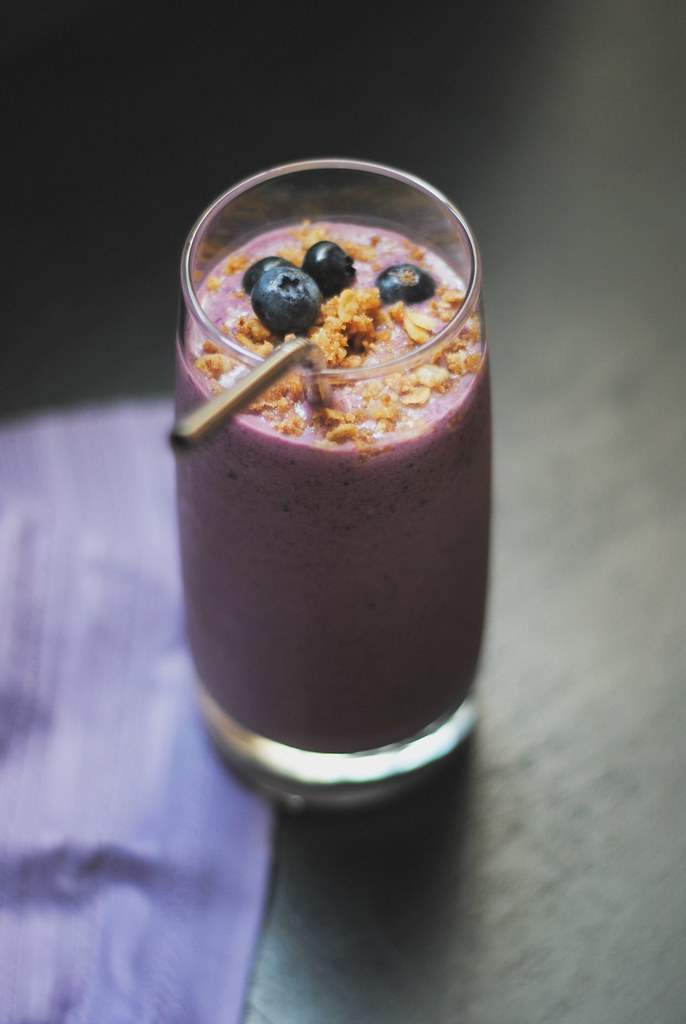
blueberry pie smoothie
makes 4 cups, serves 2-4, depending on how generous or stingy you are
note: i didn’t exactly measure everything. it’s all about consistency, how thick or thin you like it. the first time i made this, i used kefir milk (which, btw, is 99% lactose free and i’m able to consume it without wanting to die. WIN!) and for this post, i kept it all vegan. if you don’t have a blueberry pie hanging around, make with fresh blueberries + honey granola or an oatmeal cookie.
2 slices of blueberry pie
1 container of vegan yogurt (6oz), i used Stoneyfield’s O’Soy Yogurt in vanilla
1 cup vegan milk (more or less…), i used almond milk
handful of ice, optional
if you plan this ahead well, make almond milk ice cubes.
in a vitamix, put in the pie slices and vegan milk. whiz until well blended. add the yogurt and whiz some more.
at this point, it’s ready for consumption. it might be thick so you could eat it with a spoon.
you can thin out with more milk (or water). i like to add ice cubes. dw typically doesn’t drink his smoothie until about an hour after i’ve made it, when he’s sitting at his desk at work so the ice keeps it cool and thins it out a little.
either way, it’s delicious. i like the idea of having dessert for breakfast and having the entire day to burn it off.
BAM!
other blueberry recipes:
blueberry clafoutis
blueberry jam danishes
blueberry breakfast cookies
one year ago today:
homemade goldfish crackers!