the dressing room,
the room i keep talking about
but haven’t shown you,
is the smallest room
and has the lowest ceiling
in our humble abode.
there is a small & tall window
in the corner
that peers out
onto the fire escape.
it’s all so very urban,
but you can imagine, it’s
a dark room.
in my humble opinion
for it to be a successful
room to dress in
it requires good lighting.
and that’s exactly what i
received when i told dw
that i absolutely cannot
get dressed in the dark anymore,
for fear of looking like
an assclown
(um. you guys.
who dressed me back then?!)
i showed dw what i wanted
and let him have at it
and like
jesus gawd
a boss
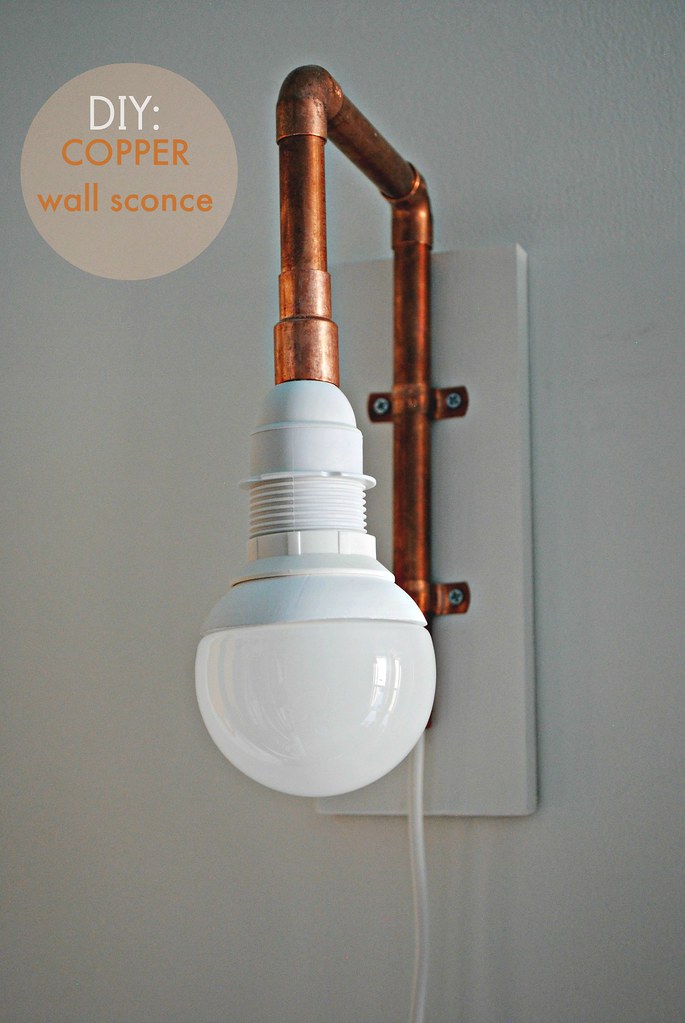
he made light.
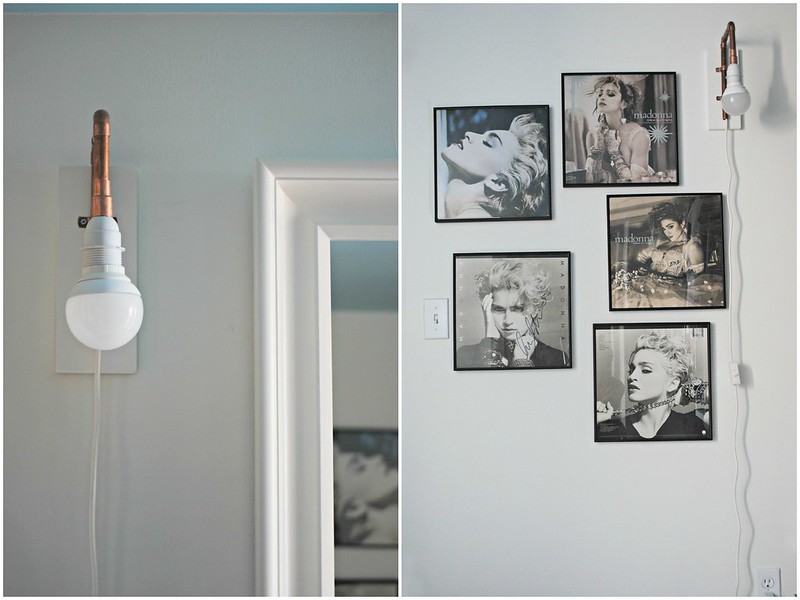
as inspired & adapted from Camille Styles
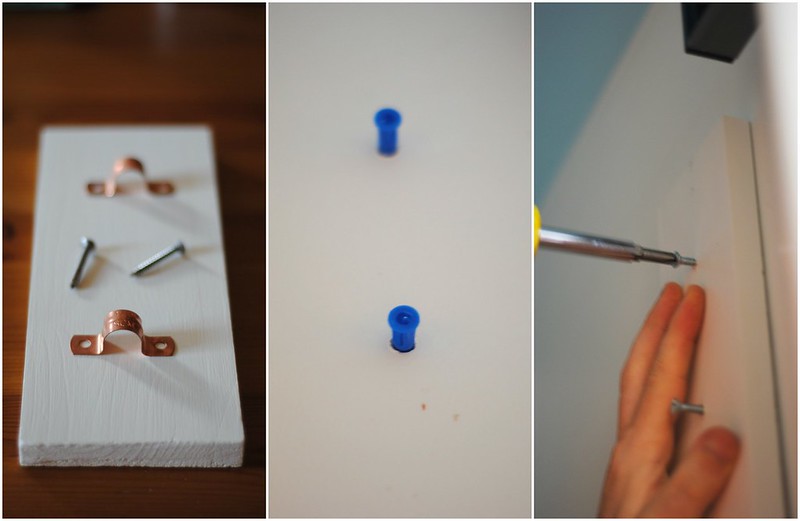
materials
led bulb – $12.99 x 2
1/2″ tube strap – $0.29/each x 4
elbow 90 1/2″ – $1.29/each x 4
reducing elbow 3/4″x1/2″ – $3.49/each x 2
outlet adapter – $1.88 x 2
white heavy duty switch cord – $3.82 x2
1/2″ wood screws – $1.18/pack of 12
IKEA hemma cord set – $5 x 2
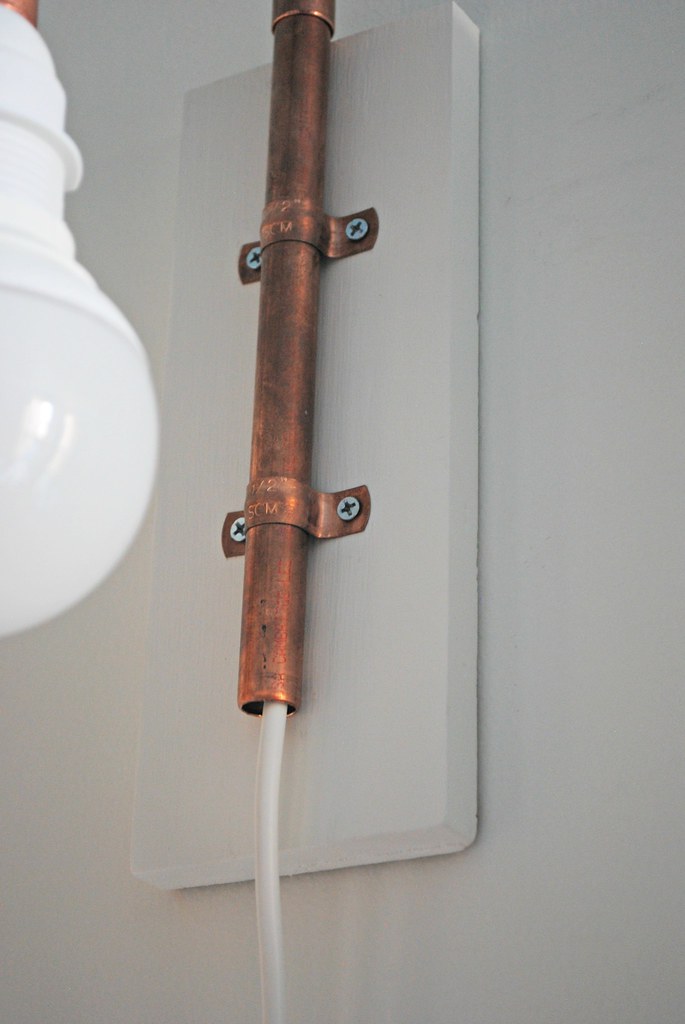
1/2″ copper pipe, cut to size: 3″, 5″ 8″ (2 of each) – free! this was because the salesrep was having a hard time cutting the pipe, felt bad and gave it to us as “scrap”. it would’ve cost approx $7.50, which we would’ve gladly paid
total for both sconces: $60.86
things we already had on hand:
piece of wood, reused from broken down dresser – 3 1/3 x 9 1/4, 1/2″ thick, painted white
screws – 1 1/4″ wood screw to mount wood to the wall
plastic wall anchors, for same
- connect copper pipes in order, with no glue. (insert them like legos, the tension holds them together). set aside.
- the hemma cord is 15ft long, if you want cut it to desired length.
- feed the cord through the copper pipe starting at the shorter end (you’re going backwards). *tip: as you’re feeding it through the copper, do not have the pieces assembled, go through each piece individually and then connect once the cord is all the way through.
- when it’s all the way fed through, attach the outlet adapter according to instructions on the package.
- choose how high you want the switch to be attached, and hook it up according to instructions on the package.
- the original inspiration did not pull the cord taut to the pipe, but instead kept her bulb danging. we decided to pull it to the hilt, but it’s up to you.
- now you have a fully wired and connected lamp cord fixture. now prepare the wood against the wall.
- place wall anchors and screw wood into the wall.
- we opted to have the screws dead center of the wood so that the pipe would cover it, you don’t have to be anal like us. the last step: affix the fixture using two tube straps.
- Plug in and BAM!
previous dressing room shenanigans:
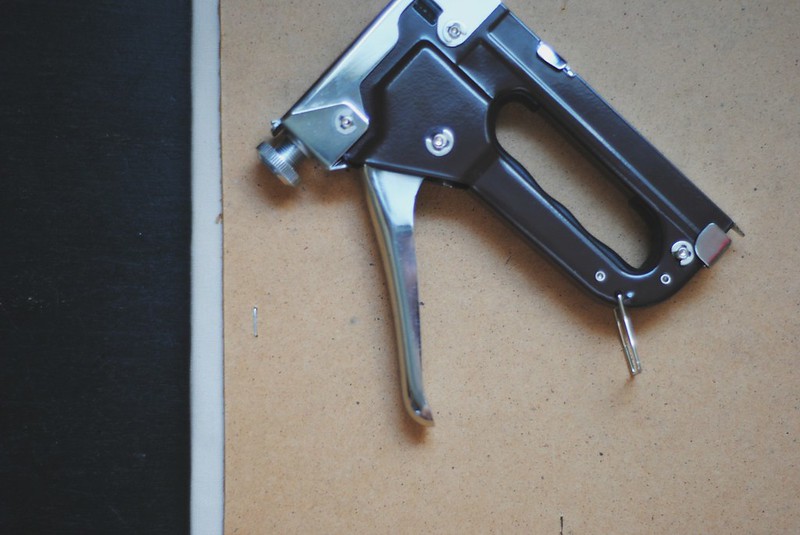
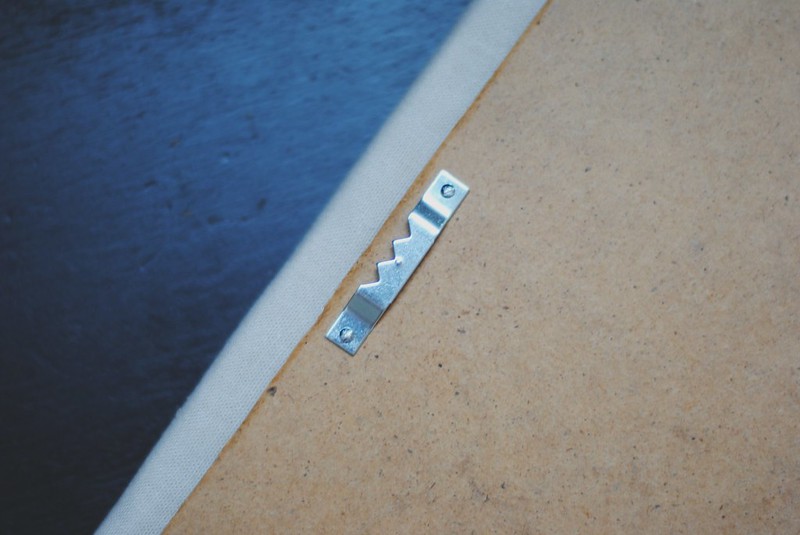
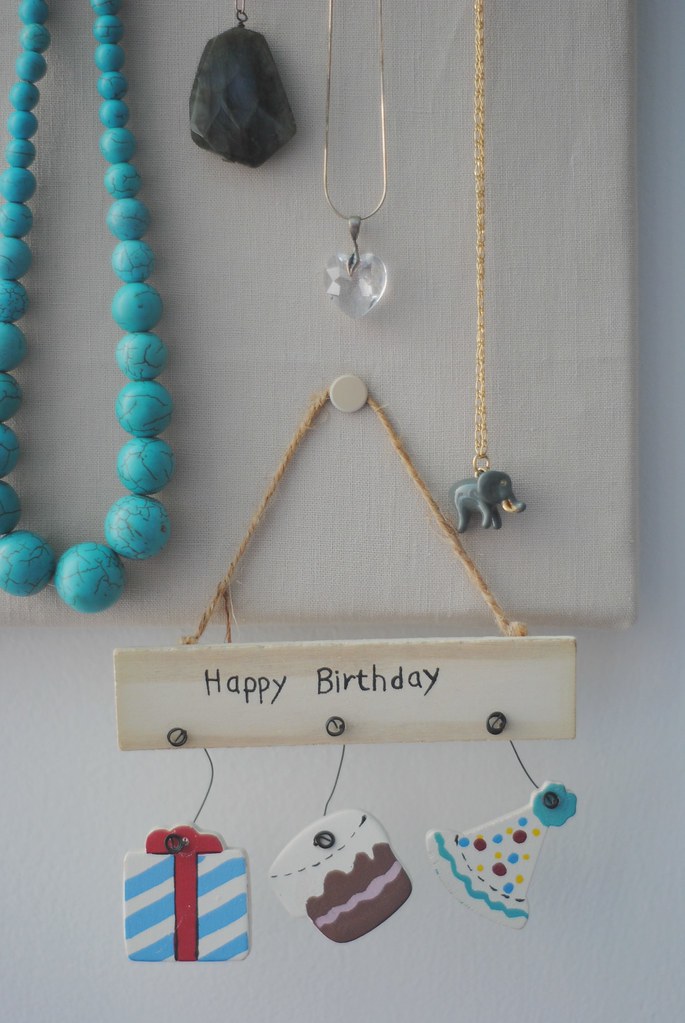
diy | linen board