
we got new windows installed last week
i can’t tell you how incredibly excited
and grown up i feel saying that.
serendipitously the temps have been pleasant,
as only may should be.
the windows have been flung open,
letting the breeze in,
though, i realize that the windows
could also be enjoyed closed,
especially since the insulation is finally on point.
still.
sitting on our sagging red elephant patterned couch,
with some home improvement show on tv,
after being without
it’s a treat to feel Spring.
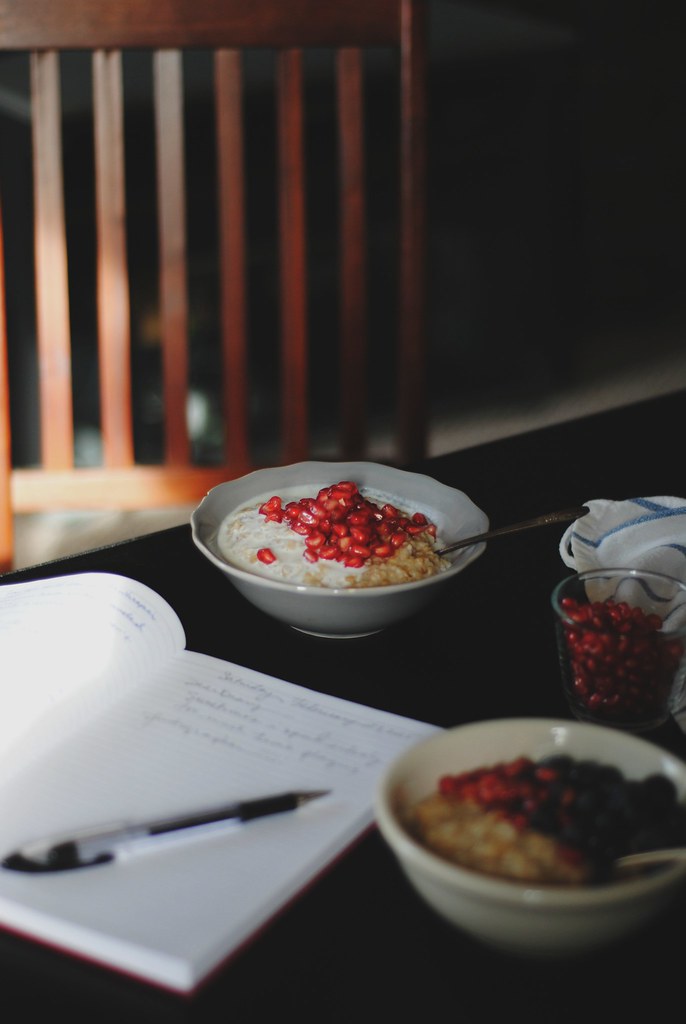
it’s also a treat to have a childhood dessert to tuck into,
a cooling dessert that i don’t make often enough.
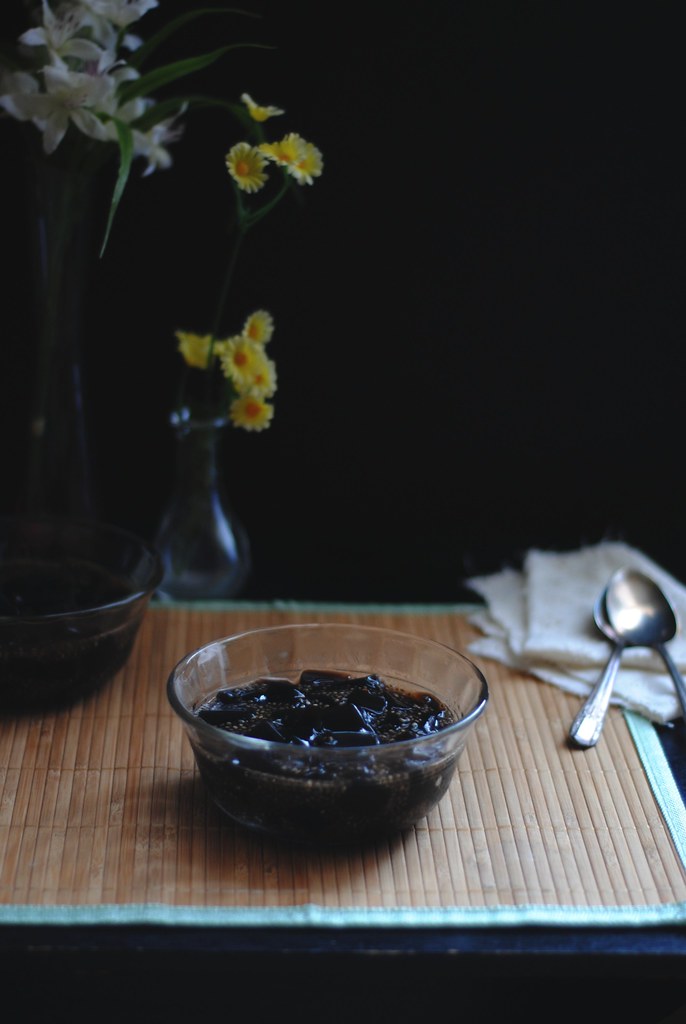
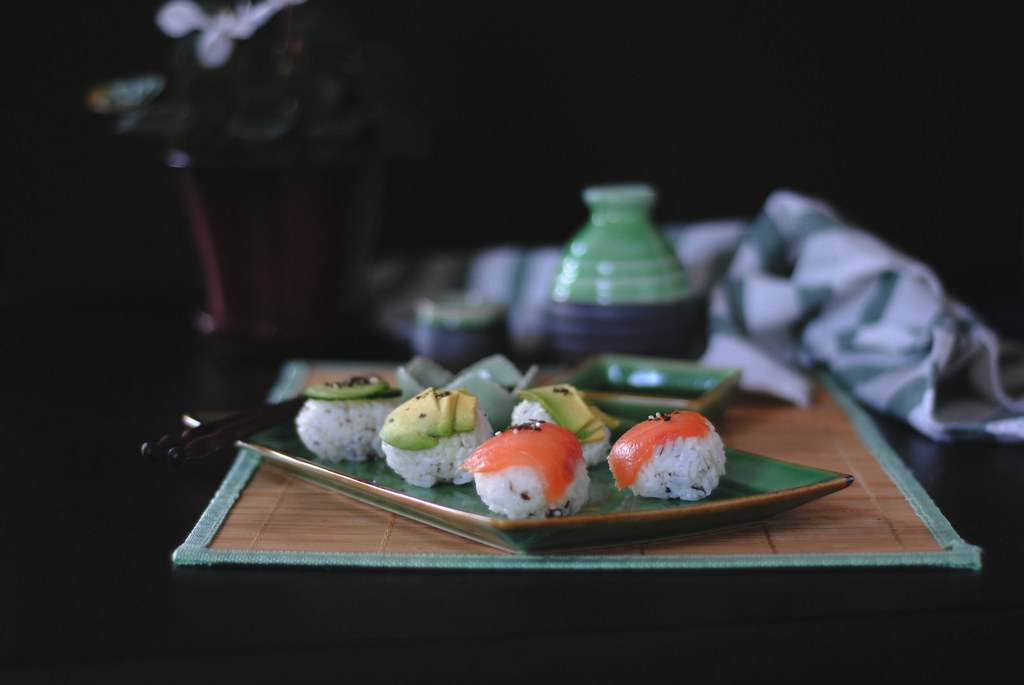
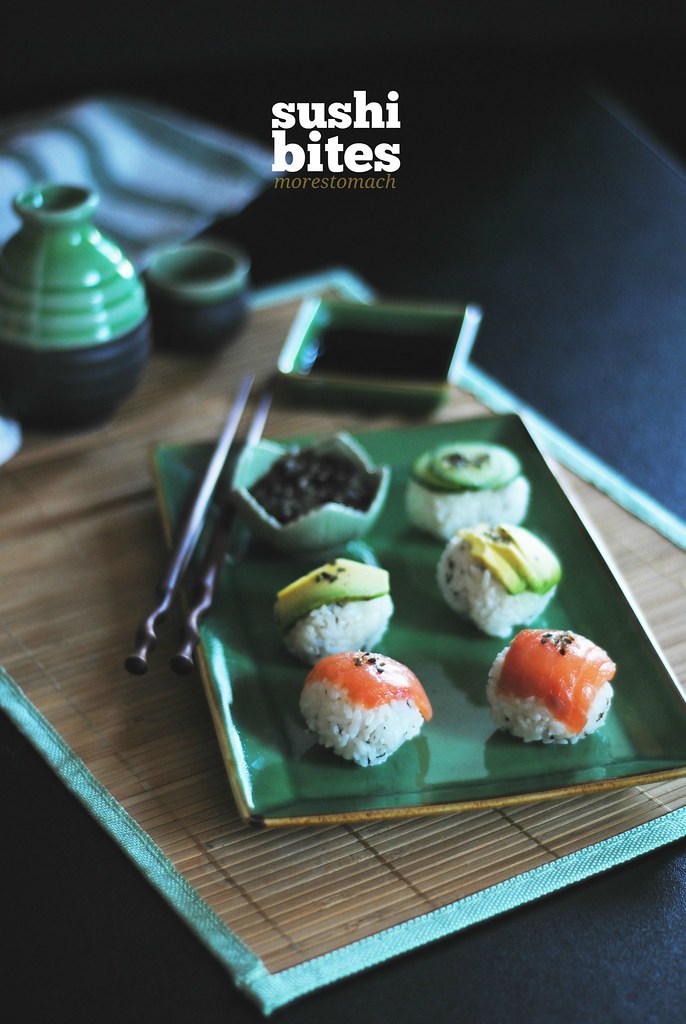
sương sáo (grass jelly) with chia seeds
*note: this is canned, which is not something we partake in usually. this isn’t so much a recipe, but more of a “oh hey, lemme put this all together and call it a day”. i will say, dw is not the biggest fan, which basically means more for me, BUT! it doesn’t mean that this sucks.
**note: the chia seeds gives this dessert a pudding-like texture. you can add as much as you want, though the more you add the thicker it is. alternatively, if you add more liquid, it makes the dessert runnier and not so overridden by the seeds.
***note: prior to my current love affair with chia seeds, i made this dessert with basil seeds which has the added crunch and something something that chia seeds have, but minus the thickening texture.
****note: last, dw thinks this tastes kinda medicinal, whereas i don’t. it has an herby-tea flavor to me.
1 can of sương sáo (grass jelly), found in the canned fruit aisle of asian markets
4 TBL simple syrup, 1:1 bee free honee and water
juice of one lemon or lime
3 TBL chia seeds
water, amount up to you, i probably had about 1/2 cups worth
so, the canned grass jelly, when taken out of the can will be like canned cranberry sauce that you see during thanksgiving. don’t be turned off. cut into cubes. i normally cut them into 6 horizontal pieces, then with one layer in my left hand, cut strips and then cubes. like this.
add in desired amount of simple syrup and squeeze that citrus over top. sprinkle the chia seeds and gently mix.
leave in fridge for at least 1 hour, to chill the grass jelly and bloom the seeds.
serve chilled.
BAM!

use real butter made her version too
wandering chopsticks adds hers with fruit and almond jelly – tropical fruit cocktail delight
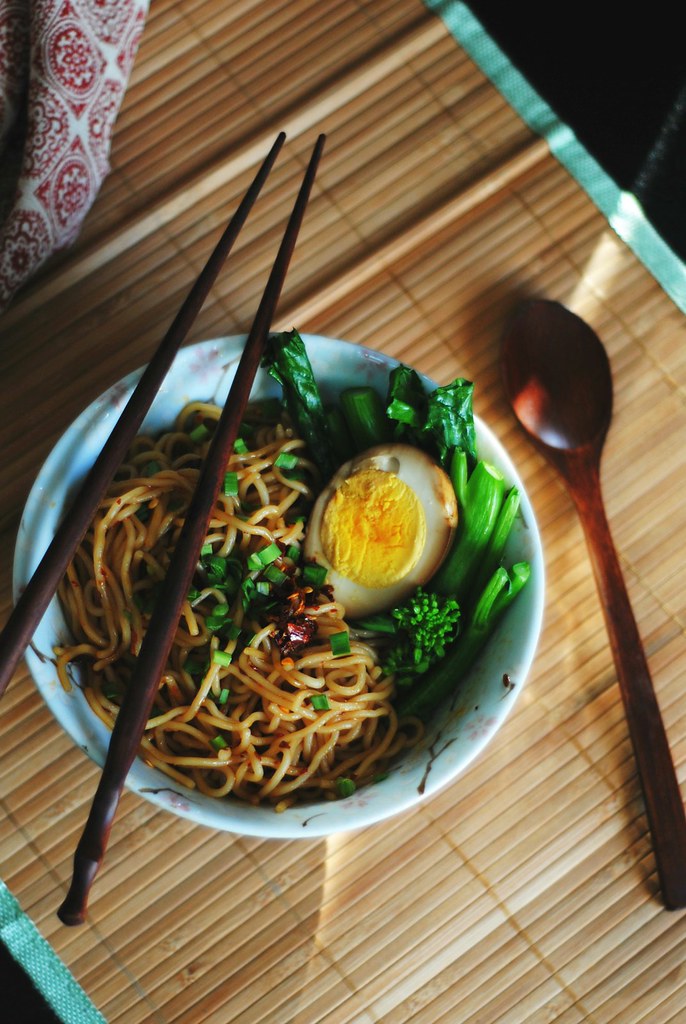
1 year ago – miso ramen
2 years ago – dutch oven bread