it’s full swing olympics right now
which means there’s a lot of
dw yelling from the living room:
GO! GO! GO! GO!
and me in the kitchen yelling:
WHAT’S GOING ON?!
in the end
we’re both exhausted
and we have no medals to show for it.
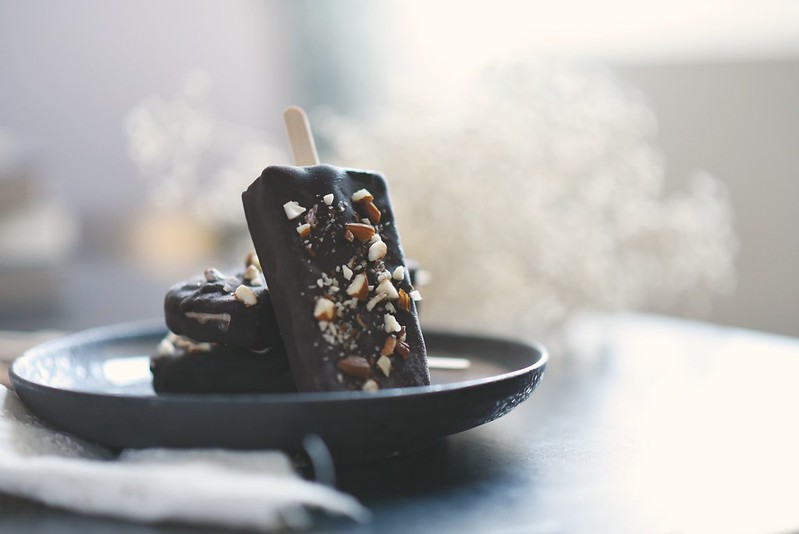
except we have these popsicles.
no one’s gonna write headlines about it
but it’s a small comfort to know
that magnums can now be reintroduced
back into my diet.
Lactose-Free Gold, y’all.
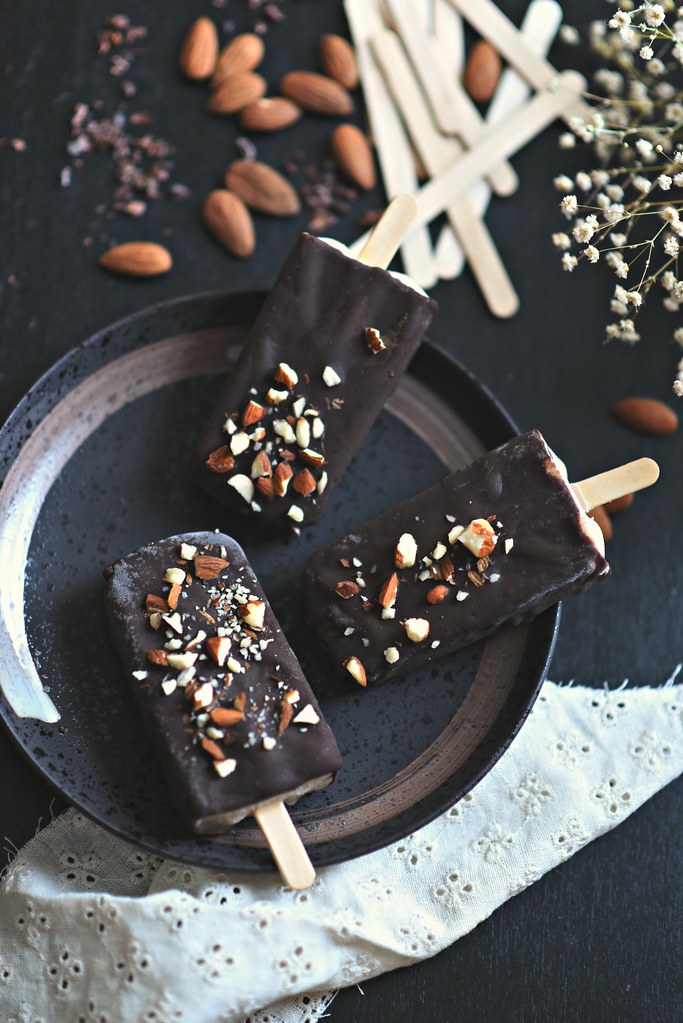
homemade chocolate covered chocolate popsicles
inspired and adapted from the beaming baker
makes 10
*note: this can totally be vegan, if you want to use up two cans of coconut milk or some vegan yogurt. i only had one can of coconut milk and i had kefir hanging out to be used. next time i make this i’ll make fancy custard base, cus i do what i want.
chocolate ice cream:
½ cup raw cashews
the fat from 1 can full-fat coconut milk
pure maple syrup, amount to your sweetness liking
healthy splash of vanilla extract
1 TBL cocoa powder
1 shot of strong black coffee (optional)
whole milk kefir
healthy pinch of salt
chocolate coating:
1/2 cup coconut oil, liquid
1/2 cup unsweetened cocoa powder
1/2 cup maple syrup
optional topping:
crushed almonds, though i think crushed peanuts would be better but i forgot to pick some up
morning of: soak cashews in some water. put can of coconut milk in fridge. go about your day.
afternoon of: drain cashews and put in vitamix. take out the cold can of coconut milk, flip upside down, open and pour out the liquid. save it for soup or whatever. scoop out the fatty coconut milk and add it to the vitamix. pour in the kefir milk till it’s about 3 cups (so scientific i know, but you never know much fatty stuff you’re gonna get out of the cans, it varies!) add in the maple syrup, cocoa powder and shot of coffee, as well as the vanilla and salt. vitamix the shit of it, until very smooth and creamy, you might need to scrape down the side but you’re aiming for a very smooth consistency.
pour into popsicle molds, don’t go all the way to the top though, give it some room. if you need to, top off with more kefir. lid, add sticks and put in freezer.
allow to freeze over night, or in my case, 1 week.
when ready, take the pops out about 10-15 minutes before dipping, to thaw them. if needed, run under tap water.
have a cookie tray lined with wax/parchment/freezer paper ready.
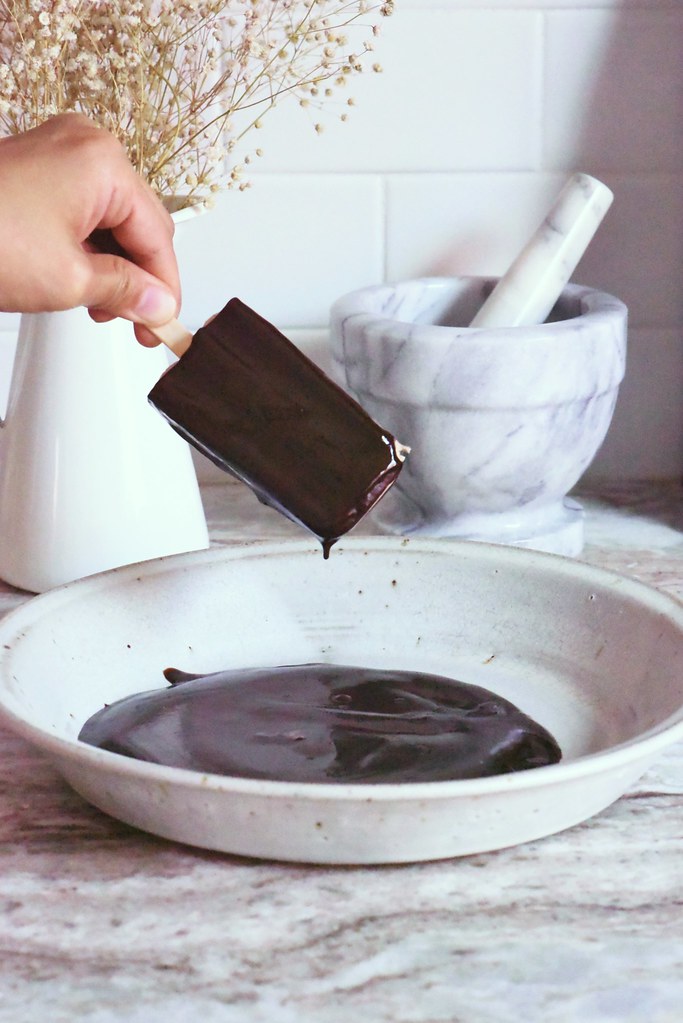
in a bowl mix the coconut oil, cocoa powder and maple syrup together until thoroughly combined. pour the liquid into a shallow pan, i used a pie pan. one by one dip the popsicles into the chocolate mixture, work fast as the cold ice cream will freeze the coconut chocolate quickly. sprinkle with chopped nuts if using.
lay the popsicles onto the prepared cookie sheet and then put back in the freezer to firm up.
or you can treat your patient husband to a treat while he watches the olympics.
BAM!
3 years ago: 2 ingredient chocolate mousse
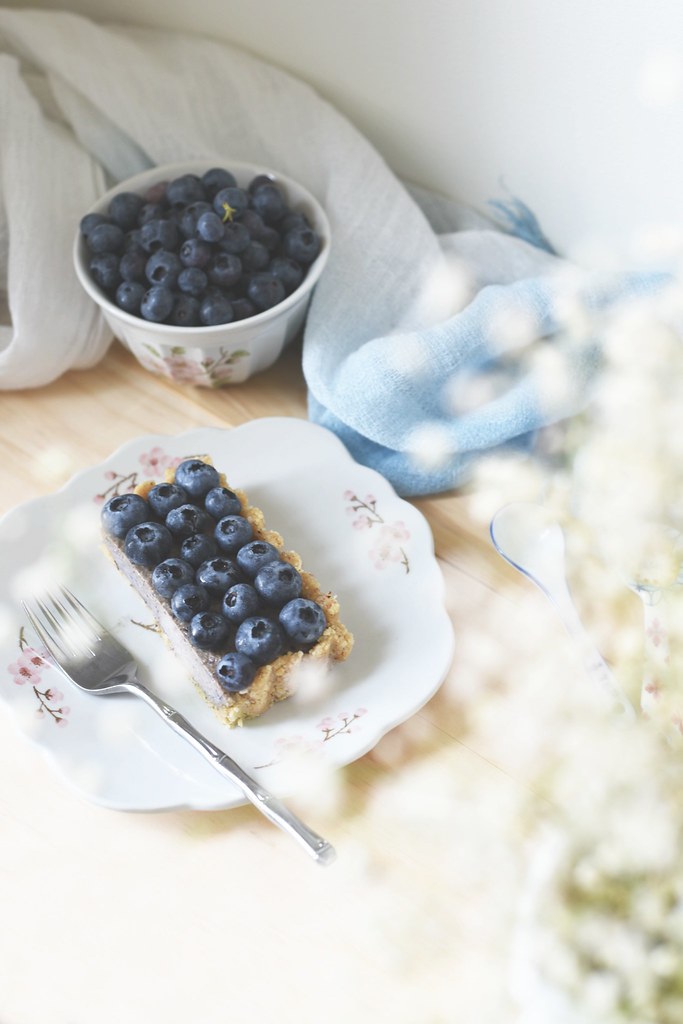
2 years ago: blueberry pie smoothie
1 year ago: thai popsicles