it snowed for the first time on saturday.
we finally turned on our heat,
over-bundling of winter layers wasn’t cutting it.
life has been specially sweet lately,
and i am grateful.
forty looks good,
and i am reminded,
often,
that though the days blur sometimes,
that there’s more disappointment than
enough fingers to count them,
it can be balanced with kindness,
thoughtful friends,
mindfulness,
and
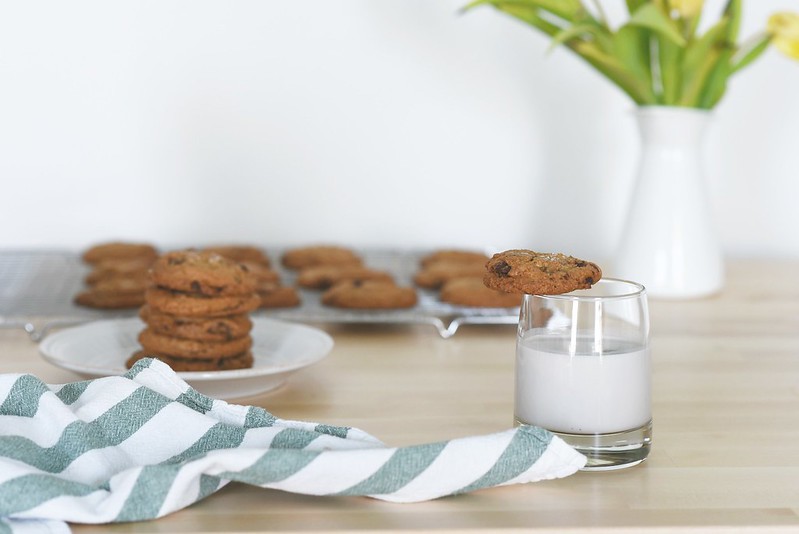
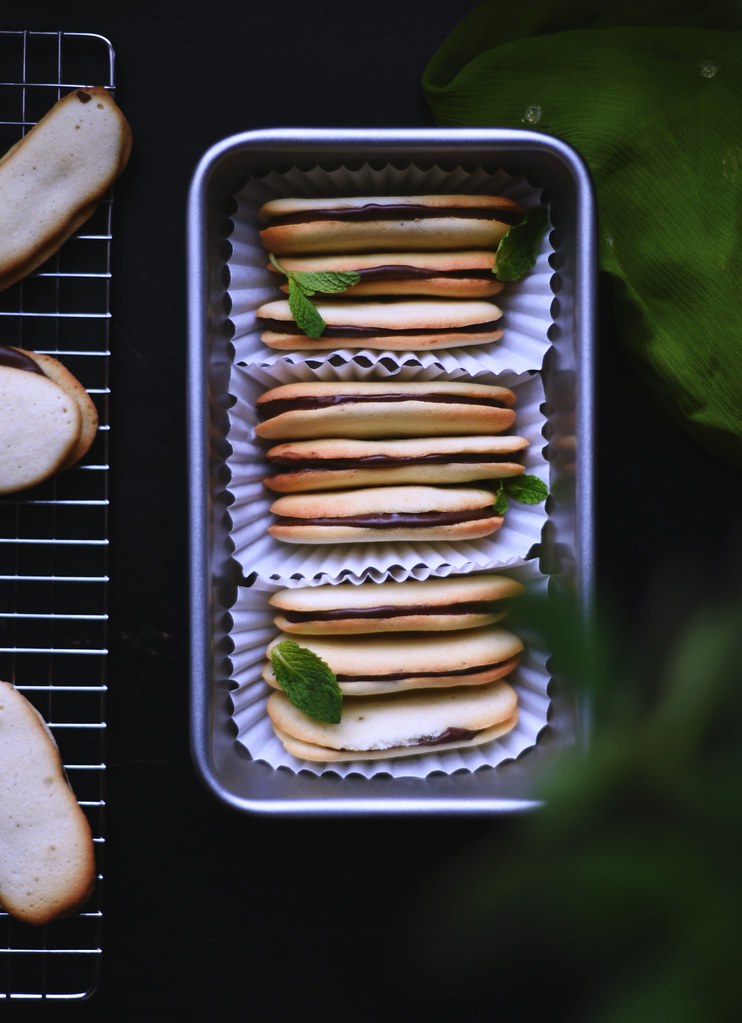
cookies.
thanks for visiting, friends. ❤

Checkerboard Pâte Sablée
adapted from baking obsession, sadly now defunct, with slight improvement from previous attempts at assembly and photography
Makes about 8 dozens
5 1/3 cups flour
1 tsp baking powder
1 tsp salt
4 sticks of butter, at room temperature (i use green valley organics)
2 cups sugar
1 TBL vanilla extract
2 large eggs
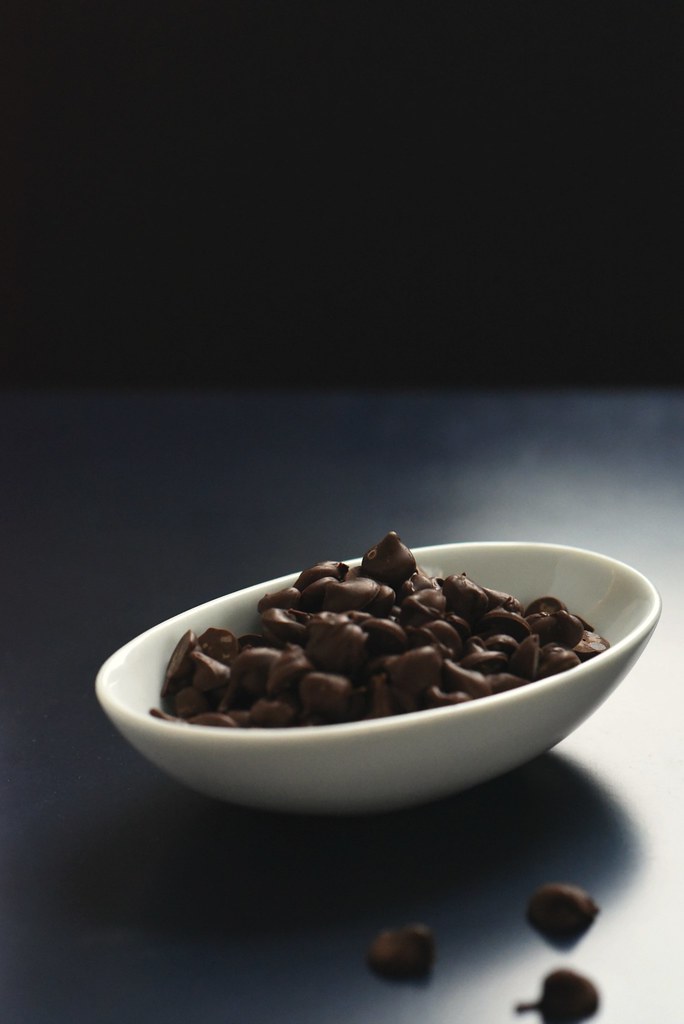
½ cup unsweetened cocoa powder
sift dried ingredients in bowl. set aside.
in a mixing bowl, cream the butter and sugar until light + fluffy. beat in eggs, one at a time, then the vanilla extract. add in the flour mixture and combine.
divide the dough in half.
in the mixing bowl mix the cocoa powder in.
last, divide both halves into half again. you’re going to end up with 4 quarters: 2 vanillas and 2 chocolates. wrap individually in plastic and fridge for up to a day.
when ready, take 2 quarters of different flavors out & allow to soften for about 15-20 minutes. btwn parchment papers roll out a quarter dough into 1/2″ thick rectangles, measuring 12×5″. repeat for other quarter.
using some sharp object, knife, dough scraper (preferred tool) or pizza cutter, cut out a nine 1/2″ wide stripes.
being gentle, but not precious about it, form two checkerboard logs switching btwn the chocolate and vanilla strips. press gently so that the strips will adhere to each other, try not to smooch them. you’re aiming for cubed logs, roll the logs from side to size for sharp, right angle quarters. good luck with that. wrap in plastic wrap and fridge, until firm. (*note: logs can be frozen at this point, as long as well wrapped).
repeat with remaining two quarter doughs.
when ready, preheat oven 350F.
prepare baking sheet with parchment paper (very important!)
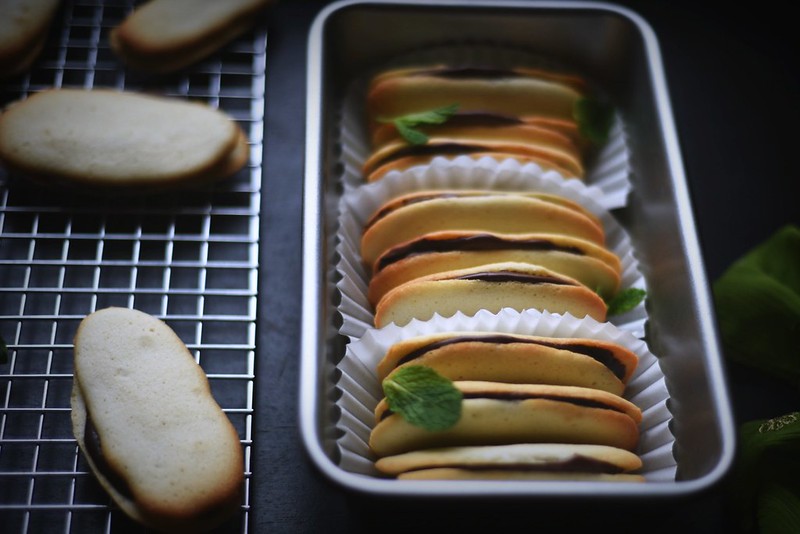
using a sharp knife, slice the logs into 1/4″ thick slices. place on prepared baking sheet, but leave about an inch space btwn cookies.
bake for about 12 minutes, don’t go more than that though, cus you want the color contrasts to be pronounced. as the cookie cools, it will firm up. cool on baking sheet for about 10 minutes then transfer on wire rack. if you don’t parchment your baking sheet, don’t let the cookies cool directly on the pan, cus you’ll be scraping that shit off.
will keep, well wrapped, in fridge for awhiles. in fact, i had it on the counter, not so very well wrapped for a week and they were fine.
BAM!

4 years ago: peppermint chocolate ice cream
3 years ago: gingerbread cake
2 years ago: chocolate espresso dacquoise
1 year ago: kefir biscuits