did you watch the Great British Bake Off
earlier in the season?
are you watching the american dessert version now?
did you make your husband stream the recent british season?
i did/am doing all three.
then i re-watch an old season on netflix,
as well as a myriad of cooking/food shows
(as well THE BLACKLIST which befuddles me cus
i both hate it and love it)
this particular fancy concoction was
created on both the GBBO and America’s Test Kitchen.
obviously it had to be made.
nuria cried before and during the making
i cried before, but only because dw
gifted me a much desired gift,
this year has been so overfull with goodness
i can’t even begin to list them out.
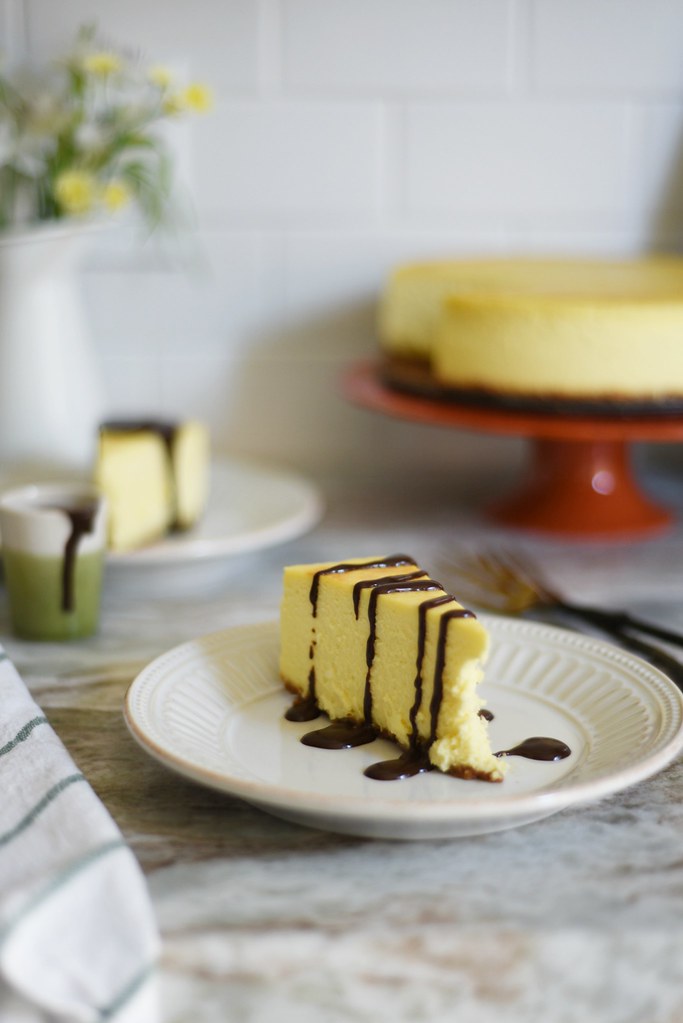
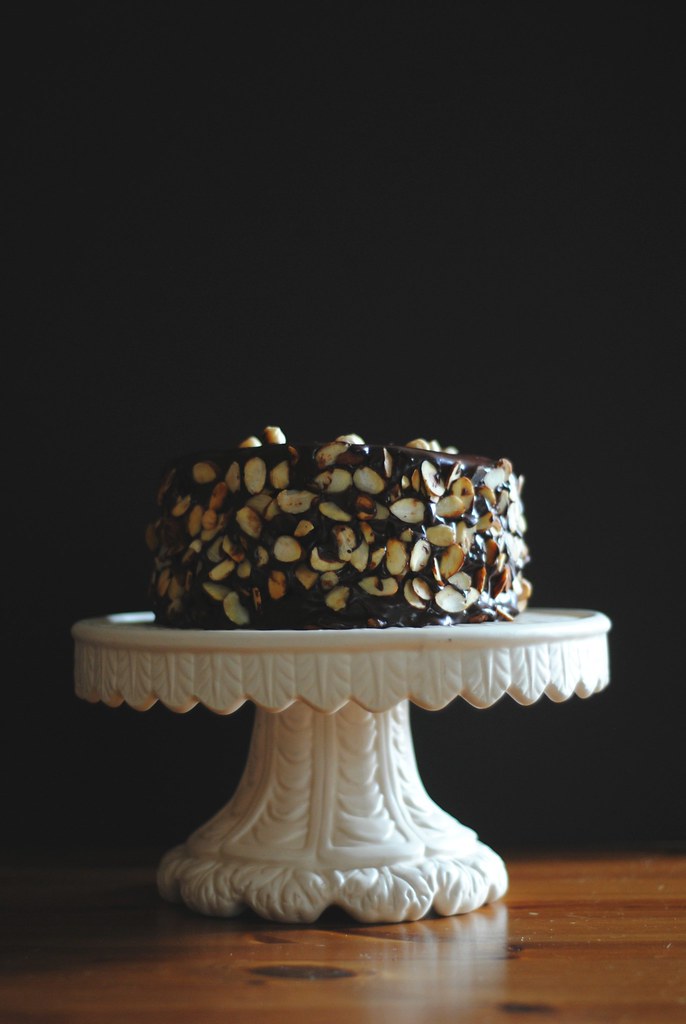
instead, let’s have cake.
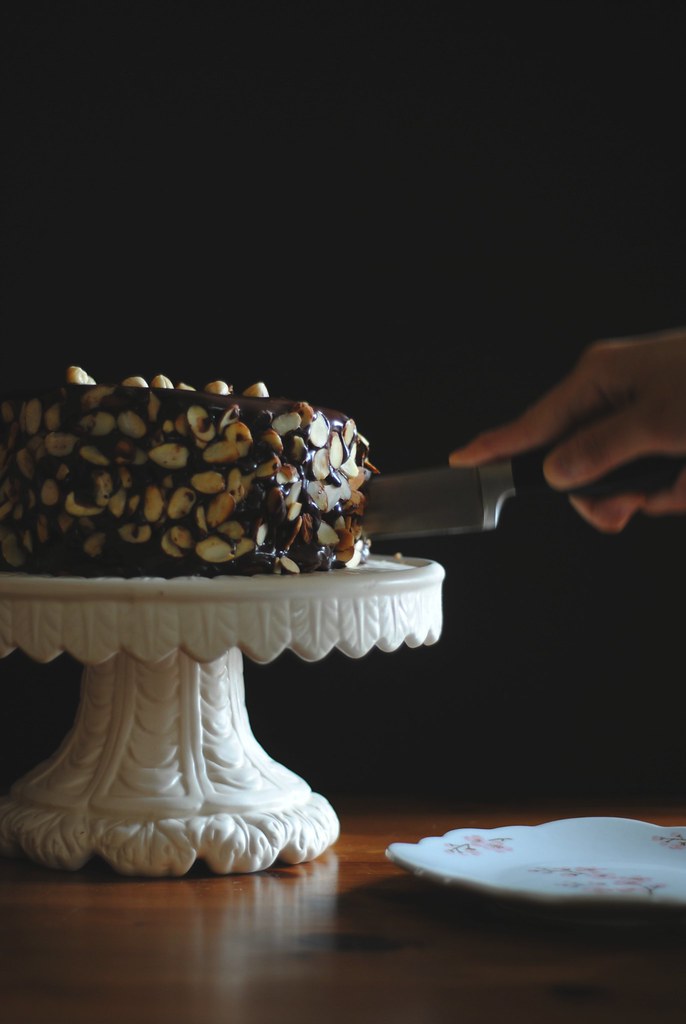
Chocolate Espresso Dacquoise – lactose free
adapted from America’s Test Kitchen
meringue
3/4 cup blanched sliced almonds, toasted
1/2 cup hazelnuts, toasted and skinned
1 TBL cornstarch
1/8 teaspoon salt
1 cup sugar
4 large egg whites, room temperature
1/4 teaspoon cream of tartar
coco-cream
3/4 cup lactose free half/half
4 large egg yolks
1/3 cup sugar
1 1/2 tsp cornstarch
1/4 tsp salt
2 TBL water
1 1/2 TBL instant espresso powder
1 cup refined coconut oil, soft, but not liquid
ganache
8 oz bittersweet chocolate, chopped fine
3/4 cup lactose free half/half
2 tsp honey or maple syrup or agave nectar
12 whole hazelnuts, toasted and skinned
1 cup blanched sliced almonds, toasted
for meringue:
preheat oven to 250F. using pencil, draw 4 6″ circles on parchment paper. grease baking sheet and place parchment on it, ink side down.
in a food processor, whiz the almonds, hazelnuts, cornstarch and salt until finely ground. add 1/2 cup of sugar and pulse to combine. set aside.
in a stand mixer with whisk, whip the egg whites + cream of tarter until it’s foamy. increase speed and whip until soft, and while the mixer still running, add in the remaining 1/2 cup sugar until mixture is glossy and stiff peaks form.
carefully fold the nut mixture into egg whites in two batches.
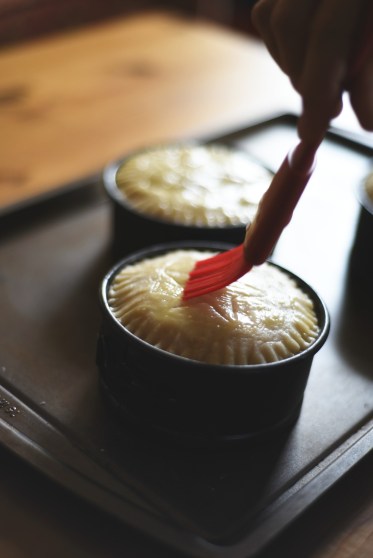
with offset spatula, spread the meringue evenly onto the prepared circles on parchment, stay within the lines.
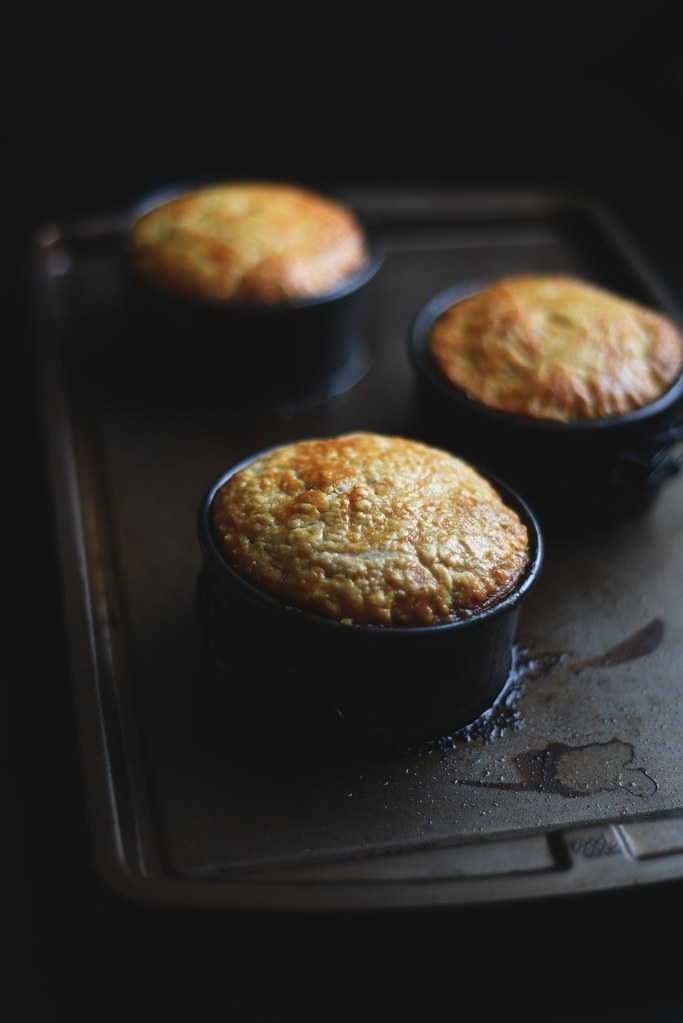
bake for 1 1/2 hours, turn off oven and cool for another 1 1/2 hours. do not open oven at any time. remove from oven and cool to room temp.
for coco-cream:
in a small sauce pan heat up half/half until barely simmering. in a bowl whisk the yolks, sugar, cornstarch and salt until incorporated and smooth. remove half/half from heat, and while whisking constantly add a ladle-full of hot liquid into the yolk mixture to temper. keep whisking until liquid is incorporated. pour the tempered yolk-milk into the saucepan and return to heat, all the while whisking continuously, until mixture has thicked into pudding. transfer the pastry cream to bowl, cover and refrigerate until set, about 2 hours.
*when making the rest of the coco-cream, take the pastry cream out of the fridge and allow to get to room temp*
stir together the water + espresso powder, set aside.
in a stand mixer with paddle, beat the coconut oil until smooth, add the pastry cream in 2-3 batches. last add the espresso mixture and continue to beat until fully incorporated, scraping the bowl down often.
for ganache:
place chopped chocolate in heatproof bowl. warm up half/half and honey to simmer in small saucepan. Pour mixture over chocolate and allow to stand for 1 minute. stir mixture until smooth, set aside and it’ll cool slightly and thicken.
to assemble:
place 3 circles on wire rack. using an off set spatula spread ganache evenly over surface of each meringue (aim for a thin layer, you’re not using all of the ganache). refridgerate until ganache is firm, about 10-15 minutes. set aside remaining gananche.
with off set spatura, on the remaining circle spread about 1/2 cup of coco-cream. place on wire rack. invert 1 ganache coated meringue, placing it on top of the buttercream and press down. repeat with remaining meringues, spreading the meringues with 1/2 cup of coco-cream and topping another inverted ganache coated meringue. with remaining coco-cream spread all over the cake, sides and top. it doesn’t have to be pretty.. refrigerate until coco-cream is firm, about 2-3 hours.
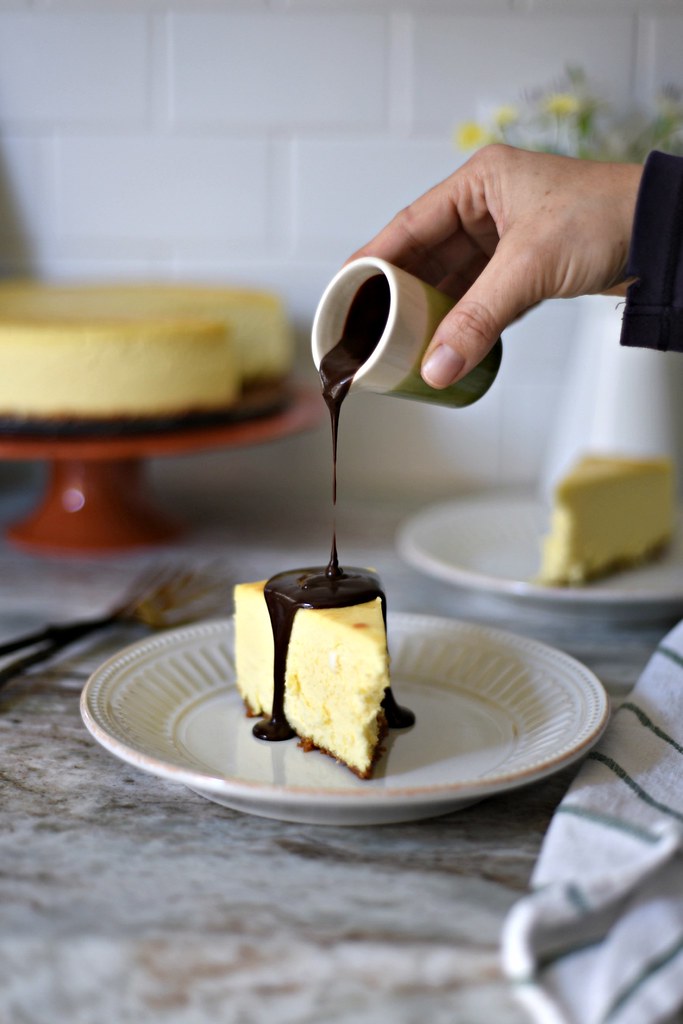
when ready, warm up the leftover ganache over barely simmer water, stirring often until the mixture is fluid but not hot. with the coco-creamed cake on wire rack, pour ganache over the top and with off set spatula spread the ganache over the top of the cake, you’re aiming for an even, thin layer and letting the excess flow down the side. spread the ganache over sides in thin layer.
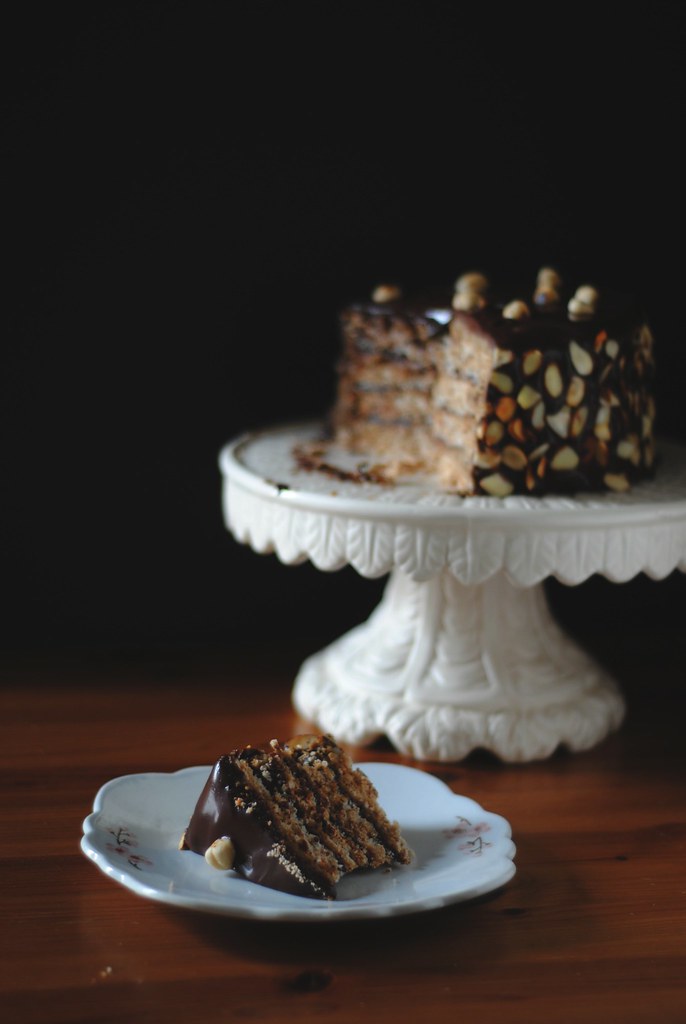
garnish the top layer with hazelnuts and for the sides, gently press the almonds onto the side. chill on wire rack, uncovered, for at least a few hours, or overnight. transfer to platter or stand.
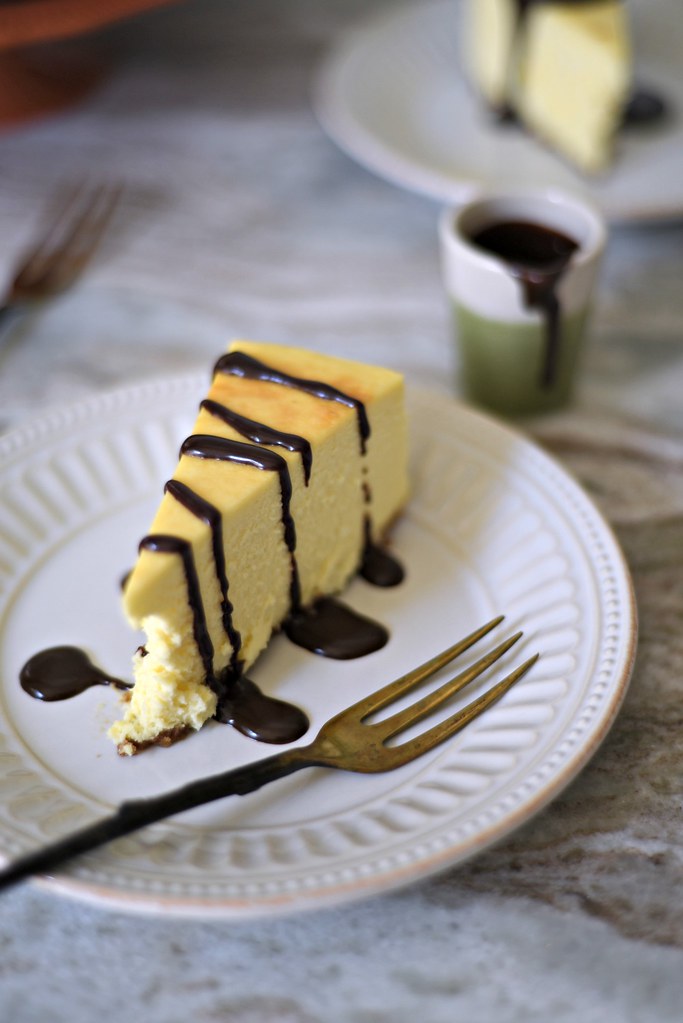
slice and serve.
BAM!
previous year: gingerbread cake
2 years ago: peppermint chocolate ice cream